
17 Bold Geometric Nail Art Designs: Modern Manicures for 2026

Geometric nail art is where manicure meets modern art, turning your nails into tiny canvases of lines, angles, and perfectly balanced shapes. In 2026 the trend has matured from simple striping tape experiments into genuinely sophisticated design: architectural negative space, Bauhaus-inspired color blocking, and metallic geometry that looks straight out of a design gallery. The beauty of geometric nail art is its precision, which makes even beginners look skilled, since clean lines and tape guides do the hard work for you. These seventeen designs range from whisper-minimal to boldly graphic.
Each idea below includes the tools and techniques that make crisp geometry possible at home, from striping brushes to vinyl guides, plus color pairings that keep graphic designs wearable. You will learn which base coats prevent bleeding, how to get razor-sharp lines, and when to seal everything for salon-smooth wear. If you love polished classics, see our French manicure designs with chic 2026 twists and our mesmerizing cat eye nail designs. Now let us draw some lines. Take your time with the details, because precision is what makes this design look professionally done.
Minimalist Black Lines

A single thin black line across a nude nail is the purest expression of geometric nail art, proving that restraint can be more striking than complexity. The key is placement: a vertical line elongates the nail, a horizontal one adds architectural interest, and a diagonal brings dynamic energy. Use a long striping brush loaded with highly pigmented black polish, and rest your painting hand on a stable surface to keep the line steady. One confident stroke beats three wobbly corrections every time.
This design works on every nail length and suits professional settings where bolder nail art might raise eyebrows. The nude base should closely match your skin tone for the most elegant effect, creating the illusion of lines floating on the nail. Seal with a glossy top coat to protect the delicate linework from chipping. Among geometric nail art ideas, this minimalist approach is the easiest to execute and the hardest to get wrong, making it the perfect starting point for graphic manicure beginners.
Negative Space Triangles
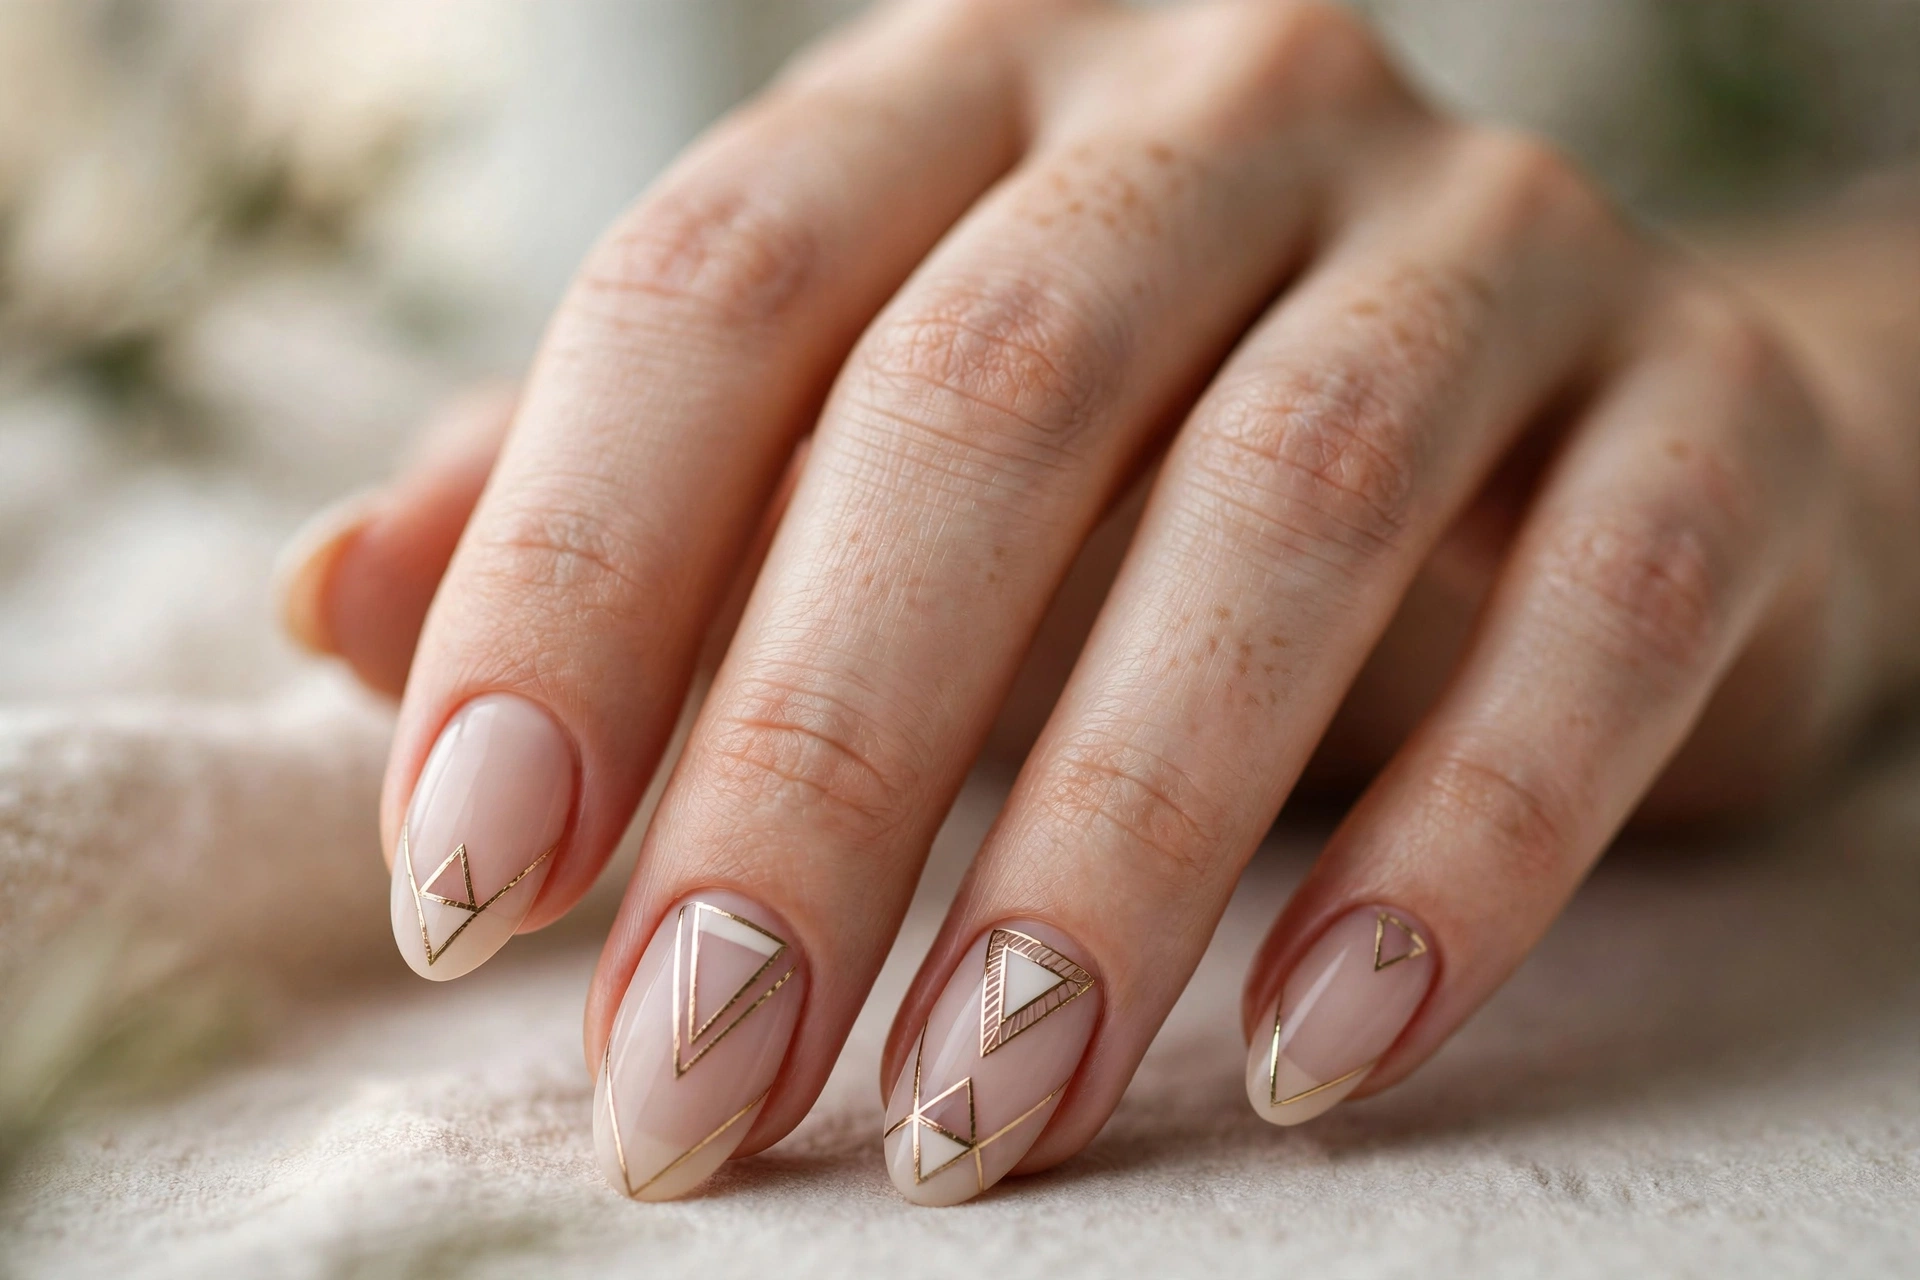
Negative space triangles let your natural nail become part of the design, one of the smartest techniques in geometric nail art for creating visual interest with minimal polish. Apply small triangle vinyls or use striping tape to mask off triangular sections near the cuticle or tip, paint around them in your chosen color, then peel away to reveal crisp bare-nail shapes. Black, white, or metallic polish against the natural nail creates stunning contrast. The exposed nail keeps the design feeling light and modern.
This technique is wonderfully forgiving because the negative space hides minor imperfections in your polish application. It also grows out gracefully, since the design sits away from the cuticle. For a 2026 update, try overlapping triangles in two tones or outlining the negative triangle with a metallic border. Keep nails well-moisturized since bare nail is on display. Negative space geometric nail art proves that what you leave unpainted matters just as much as what you paint. A steady hand and good lighting make all the difference when creating this look at home.
Color Block Squares

Color blocking brings Mondrian energy to your manicure, dividing each nail into bold squares and rectangles of contrasting color for geometric nail art with genuine gallery attitude. Choose two or three shades with strong contrast, like black, white, and a single vivid accent such as cobalt or tangerine. Use striping tape to mask crisp sections, painting one color at a time and removing the tape while the polish is still slightly tacky for the sharpest edges. The result is unapologetically modern.
The secret to wearable color blocking is scale: keep the blocks proportional to your nail size so the design reads intentional rather than chaotic. On short nails, two blocks per nail is plenty, while longer nails can handle three. A glossy top coat unifies the sections into one cohesive design. This is geometric nail art at its most confident, perfect for creative workplaces and art lovers. It also makes a fantastic accent nail paired with solid polish on the remaining fingers.
Gold Foil Geometry
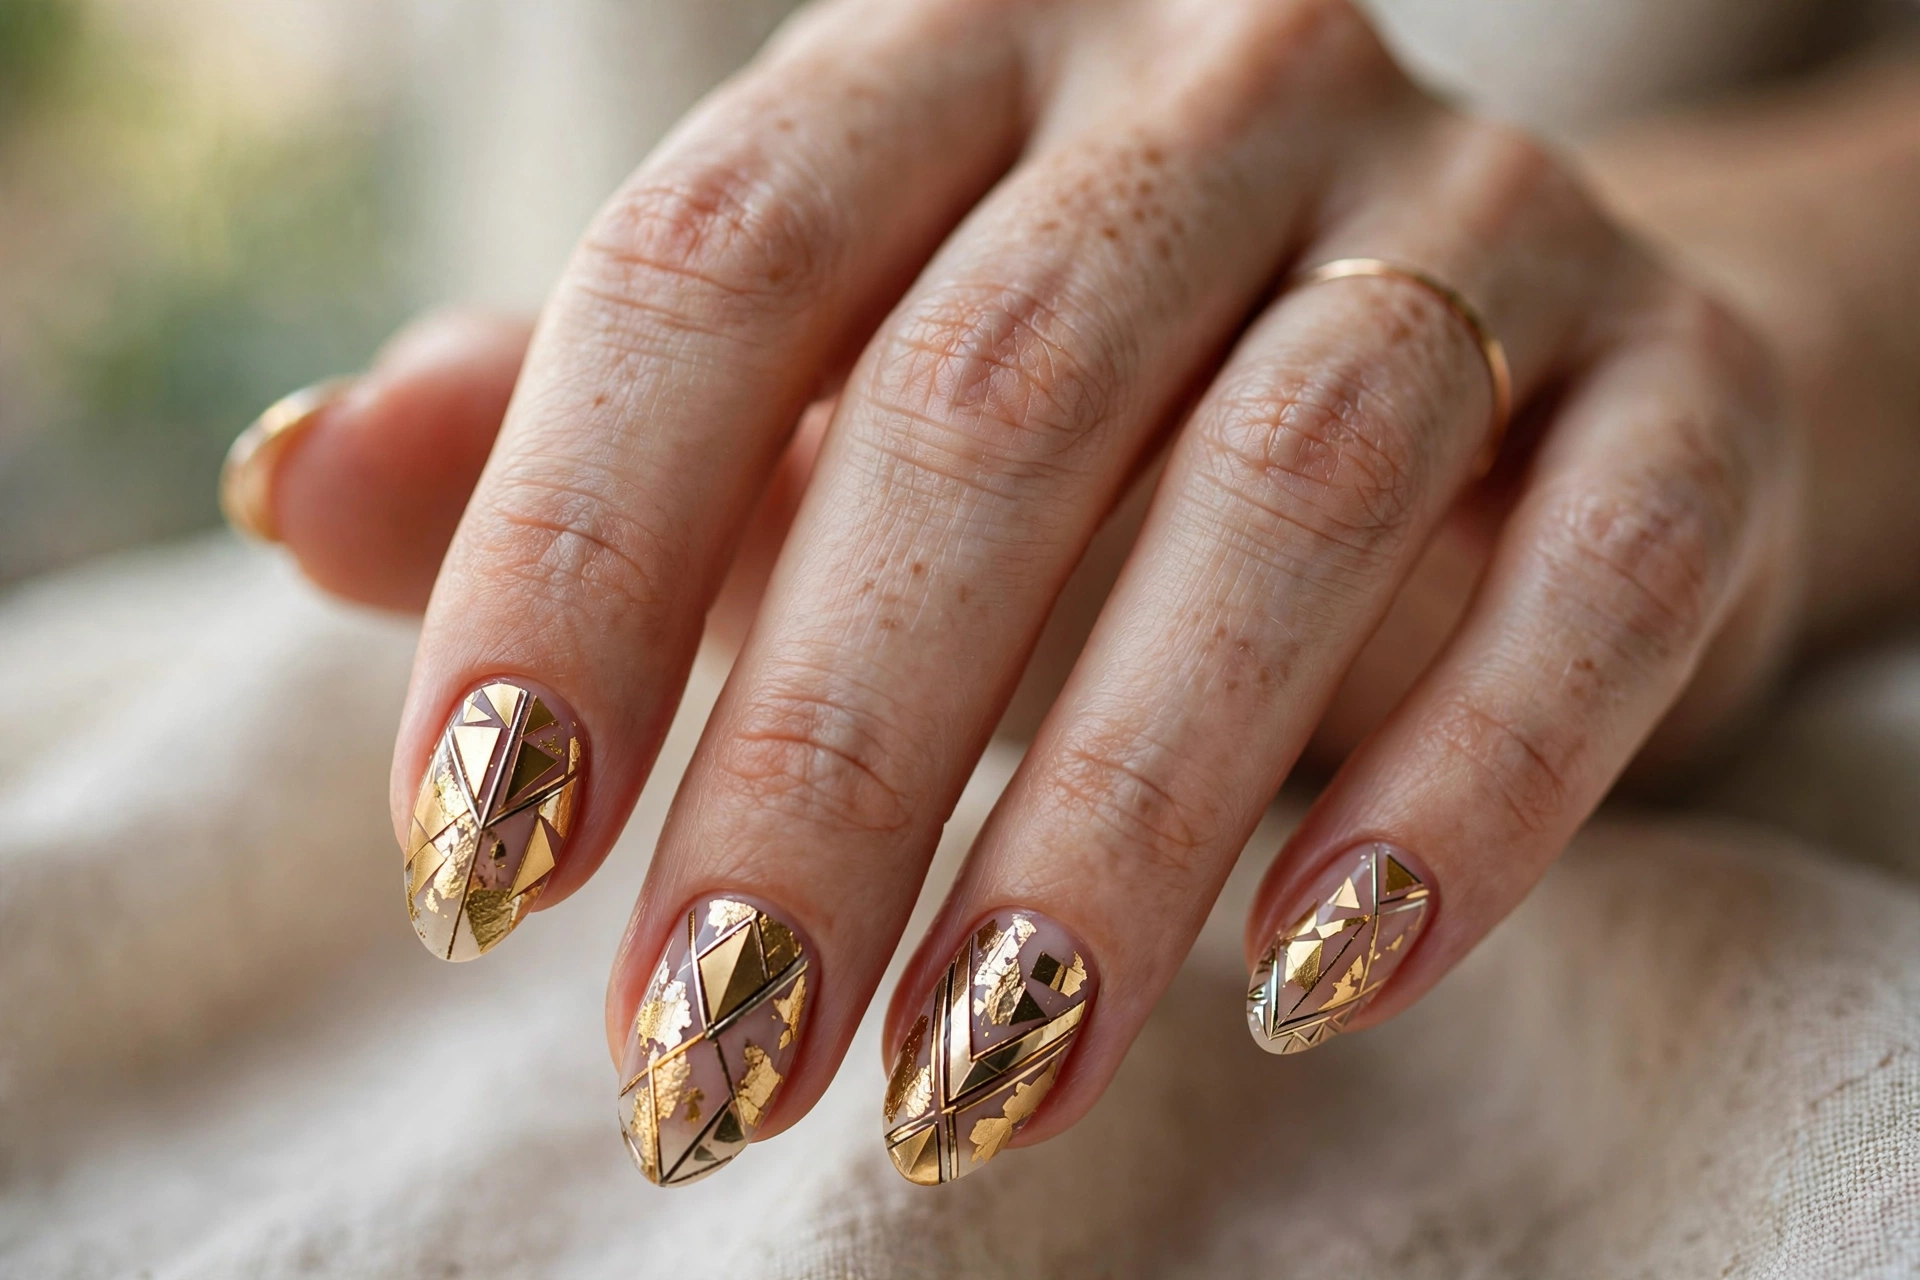
Gold foil transforms simple geometric shapes into luxury, adding molten metallic dimension to otherwise flat designs. After painting your base color and mapping shapes with a detail brush, press small pieces of gold transfer foil onto tacky polish or nail foil glue, then seal thoroughly. Triangles, chevrons, and angular shards look especially expensive in gold against deep bases like black, burgundy, or emerald. This technique elevates geometric nail art from graphic to genuinely glamorous. This is one of those designs that looks far more difficult than it actually is to create.
Foil application rewards patience: work one nail at a time so the adhesive stays tacky, and use tweezers for precise placement of small pieces. The beauty of foil is its organic texture, since no two applications look identical, giving you a one-of-a-kind manicure. Seal with two top coat layers because foil edges can lift. Among geometric nail art finishes, gold foil photographs the most luxuriously, catching light like jewelry. It is evening-ready glamour with an architectural edge. With a little practice, you will be able to recreate this design in under thirty minutes.
Half-Moon Geometric Tips
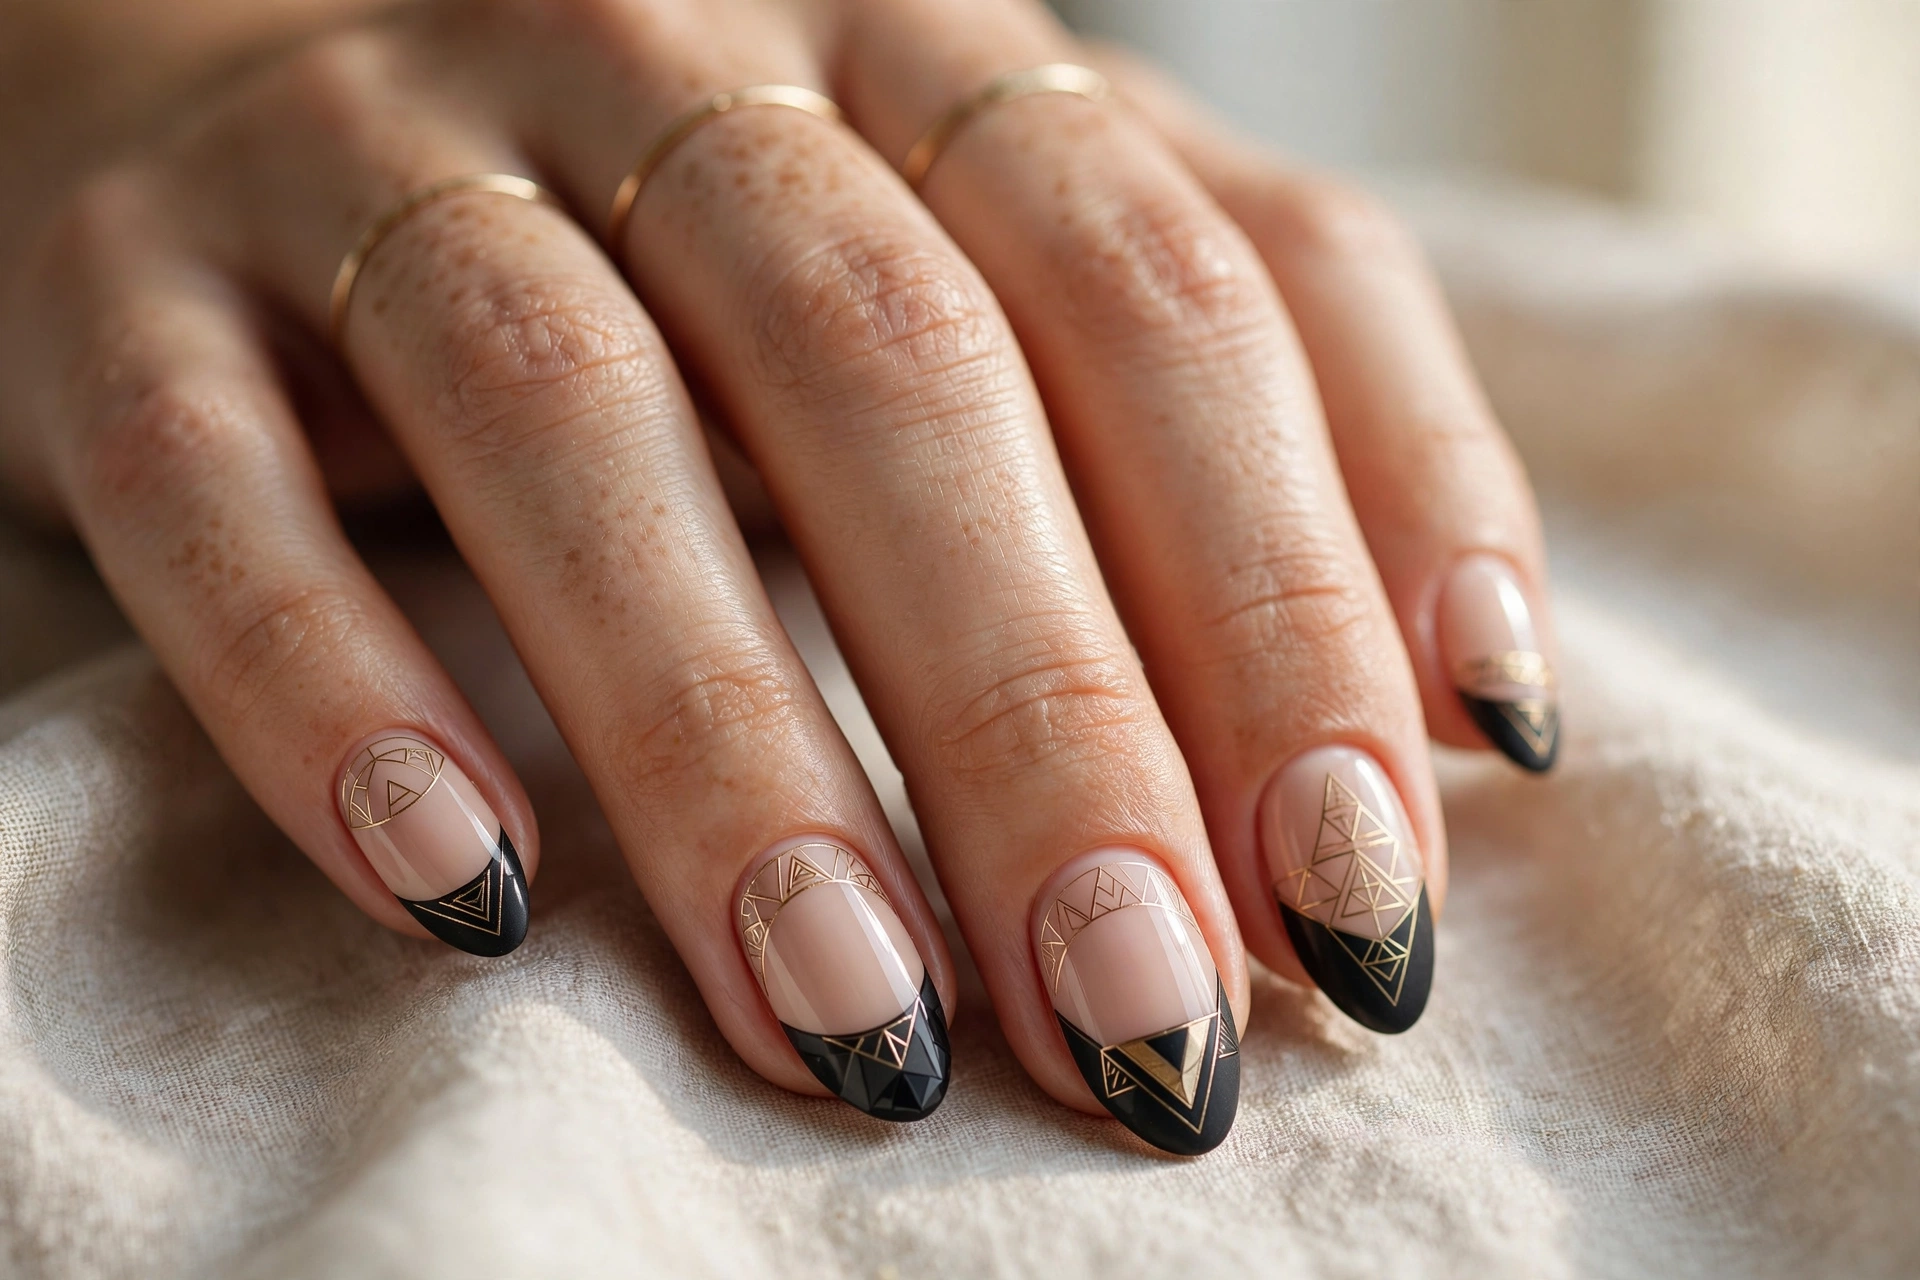
The half-moon manicure gets a geometric update when the classic curved moon becomes an angular chevron or triangle at the cuticle. Instead of the traditional rounded half-moon, paint a sharp V or straight-edged shape in a contrasting color at the nail base, leaving the rest of the nail sheer or solid. This small shift makes a vintage technique feel thoroughly 2026. Metallics like silver and gold make the geometric moon pop against nude or blush bases. The finished result is polished enough for any occasion, from office days to evening events.
Use reinforcement stickers or hole-punch vinyls as guides, cutting them into angular shapes for the geometric effect. This design is kind to grow-out since the base is the last place polish typically chips. It suits shorter nails beautifully, where the angular moon creates the illusion of length. Keep the rest of the nail simple so the geometric detail stays the star. This is geometric nail art that whispers rather than shouts, perfect for minimalists who still want an edge. Keep your tools clean between nails to maintain the crisp edges this design needs.
Checkerboard Nails

Checkerboard nails are the undisputed cool-girl pattern of geometric nail art, equal parts retro and futuristic depending on your color choices. The classic black-and-white version channels mod sixties energy, while unexpected combos like sage and cream or lilac and white feel thoroughly current. Create the pattern with a small square nail art brush or dotting tools, working in a grid across each nail. Precision matters here, so take your time and use tape guides for perfectly straight divisions. Do not rush the drying time, since smudged work will undo all your careful effort.
On short nails, keep the checks small and numerous; on long nails, larger checks make a bolder statement. The pattern looks incredible as an accent nail paired with solid polish, or go full checkerboard on all ten for maximum impact. Matte top coat over checkerboard gives it a modern, editorial finish. This is geometric nail art with personality and playfulness, ideal for anyone whose style leans a little bit edgy. It never fails to start conversations. This design also looks stunning as an accent nail paired with a simple solid manicure.
Diagonal Stripes

Diagonal stripes slice across the nail with dynamic energy, making them some of the most elongating designs in geometric nail art. A single bold diagonal dividing two contrasting colors creates instant graphic impact, while multiple thin parallel diagonals feel more refined. Striping tape is essential for crisp edges: lay the tape, paint over it, and remove while tacky. Black and nude is the timeless combination, but try unexpected pairings like terracotta and cream for a 2026 feel. Experiment with different color combinations to make this design completely your own.
The angle of your stripes changes the whole mood: steep diagonals feel energetic and modern, while shallow angles read more elegant. This design flatters short nails particularly well, since the diagonal line tricks the eye into seeing more length. Mix stripe widths across nails for an editorial, mismatched look, or keep them uniform for classic polish. Seal carefully since tape edges can lift. Diagonal stripes prove that geometric nail art needs nothing more than a straight line to make a statement.
Geometric French Twist

The French manicure goes architectural when the traditional curved smile line becomes a sharp V, straight edge, or double line. This geometric French twist keeps the elegance of the classic while adding the crisp attitude of geometric nail art. Paint the nail bed sheer pink or nude, then create angular tips in white, black, or a bold color using striping tape as your guide. The result is familiar enough for conservative settings but interesting enough to feel current. Finish with cuticle oil to keep the skin around your nails looking as polished as the design.
The V-shaped French is especially flattering, elongating fingers with its pointed apex. For extra 2026 edge, try a double French with two parallel angular lines, or outline the tip in metallic over a matte base. This design grows out beautifully and suits every nail shape. It bridges the gap between classic and trendy perfectly. If you love French manicures but crave something fresher, this geometric nail art variation delivers exactly that balance of timeless and now. Thin coats are always better than thick ones, giving you smoother color and faster drying.
Abstract Bauhaus Shapes

Channel the Bauhaus movement with primary-color circles, semicircles, and bars arranged in asymmetric compositions, the most artistic corner of geometric nail art. This design treats each nail as a miniature canvas: a red semicircle here, a black bar there, a yellow dot anchoring the composition. The key is confident asymmetry, since perfect symmetry would kill the artistic energy. Use dotting tools for circles and striping brushes for bars, working over a clean white or cream base. If you make a mistake, a small cleanup brush dipped in acetone fixes edges in seconds.
This is wearable art history, and it suits creative spirits who treat their manicure as self-expression. Keep the base immaculate since light colors show every flaw, applying two thin coats for full opacity. Each nail can be different or follow a loose theme across the hand. Seal with glossy top coat to make the colors pop like fresh paint. Among geometric nail art styles, Bauhaus designs earn the most compliments from fellow art lovers and never look like anyone else’s manicure.
Thin Line Grid

A delicate grid of hairline-thin lines creates architectural texture across the nail, one of the most refined techniques in geometric nail art. Using a long, fine striping brush, paint evenly spaced vertical and horizontal lines over a nude or pastel base, forming a subtle lattice. The lines should be whisper-thin, more suggestion than statement. This design reads as texture from a distance and reveals its precision up close, rewarding the observant viewer with beautiful detail. Take your time with the details, because precision is what makes this design look professionally done.
Steady hands matter more than speed here, so brace your wrist and work slowly, loading the brush sparingly to avoid blobs at line intersections. The grid suits professional environments where nail art must stay subtle. Try white lines on sheer beige for the softest effect, or black on nude for more definition. This is geometric nail art for minimalists who appreciate craft, proving that the quietest designs often require the most skill and deliver the most sophistication. A steady hand and good lighting make all the difference when creating this look at home.
Geo Dots and Dashes

Dots and dashes bring a playful, almost morse-code rhythm to geometric nail art, arranging simple marks into patterns that feel both graphic and charming. Use dotting tools in graduated sizes to create rows of dots, alternating with short dashes painted with a striping brush. A single color on a contrasting base keeps it chic: white on navy, black on blush, gold on burgundy. The repetition creates visual rhythm that is deeply satisfying to look at. This is one of those designs that looks far more difficult than it actually is to create.
This technique is wonderfully beginner-friendly since dots are far more forgiving than straight lines, yet the finished effect looks deliberately designed. Vary the spacing to create different moods: tight rows feel energetic, while sparse placement reads elegant. It works beautifully as an accent nail or across all ten fingers. Seal with top coat to protect the raised dots from wear. Dots and dashes prove that geometric nail art can be both precise and playful, appealing to nail art newcomers and veterans alike.
Metallic Triangle Accents

Small metallic triangles placed with intention turn a simple manicure into geometric nail art with jewelry-like precision. Paint your nails in a solid cream shade, then add a single chrome or metallic triangle near the cuticle or tip of each nail using a detail brush or triangle studs. The small scale keeps the design elegant while the metallic finish catches light beautifully. Gold, silver, and rose gold all work, so match your metal to your everyday jewelry. With a little practice, you will be able to recreate this design in under thirty minutes.
Placement consistency is what makes this design look professional: measure roughly the same distance from the cuticle on each nail for a uniform rhythm. Metallic polishes apply best in thin coats to avoid streaking. This is the perfect office-friendly entry into geometric nail art, subtle enough for conservative workplaces but interesting enough to feel like real nail art. It also makes an excellent bridal manicure accent, adding modern geometry to classic elegance. The finished result is polished enough for any occasion, from office days to evening events.
Monochrome Geo Mix

Working entirely in black, white, and gray removes color distraction and lets pure form shine, creating some of the most striking geometric nail art possible. Give each nail a different monochrome pattern: stripes on one, triangles on another, dots on a third, checkerboard on a fourth. The limited palette unifies the mismatched designs into a cohesive, editorial manicure. This approach suits maximalists who want variety without visual chaos. Keep your tools clean between nails to maintain the crisp edges this design needs.
The key is balancing busy and calm nails across the hand so the overall effect feels curated rather than random. Alternate complex patterns with simple ones, like a single stripe or solid nail, to give the eye resting places. Matte top coat over monochrome geometry looks incredibly modern. This is geometric nail art with high-fashion attitude, perfect for anyone whose wardrobe leans black and white. It pairs with literally everything you own. Do not rush the drying time, since smudged work will undo all your careful effort.
Pastel Geo Patterns
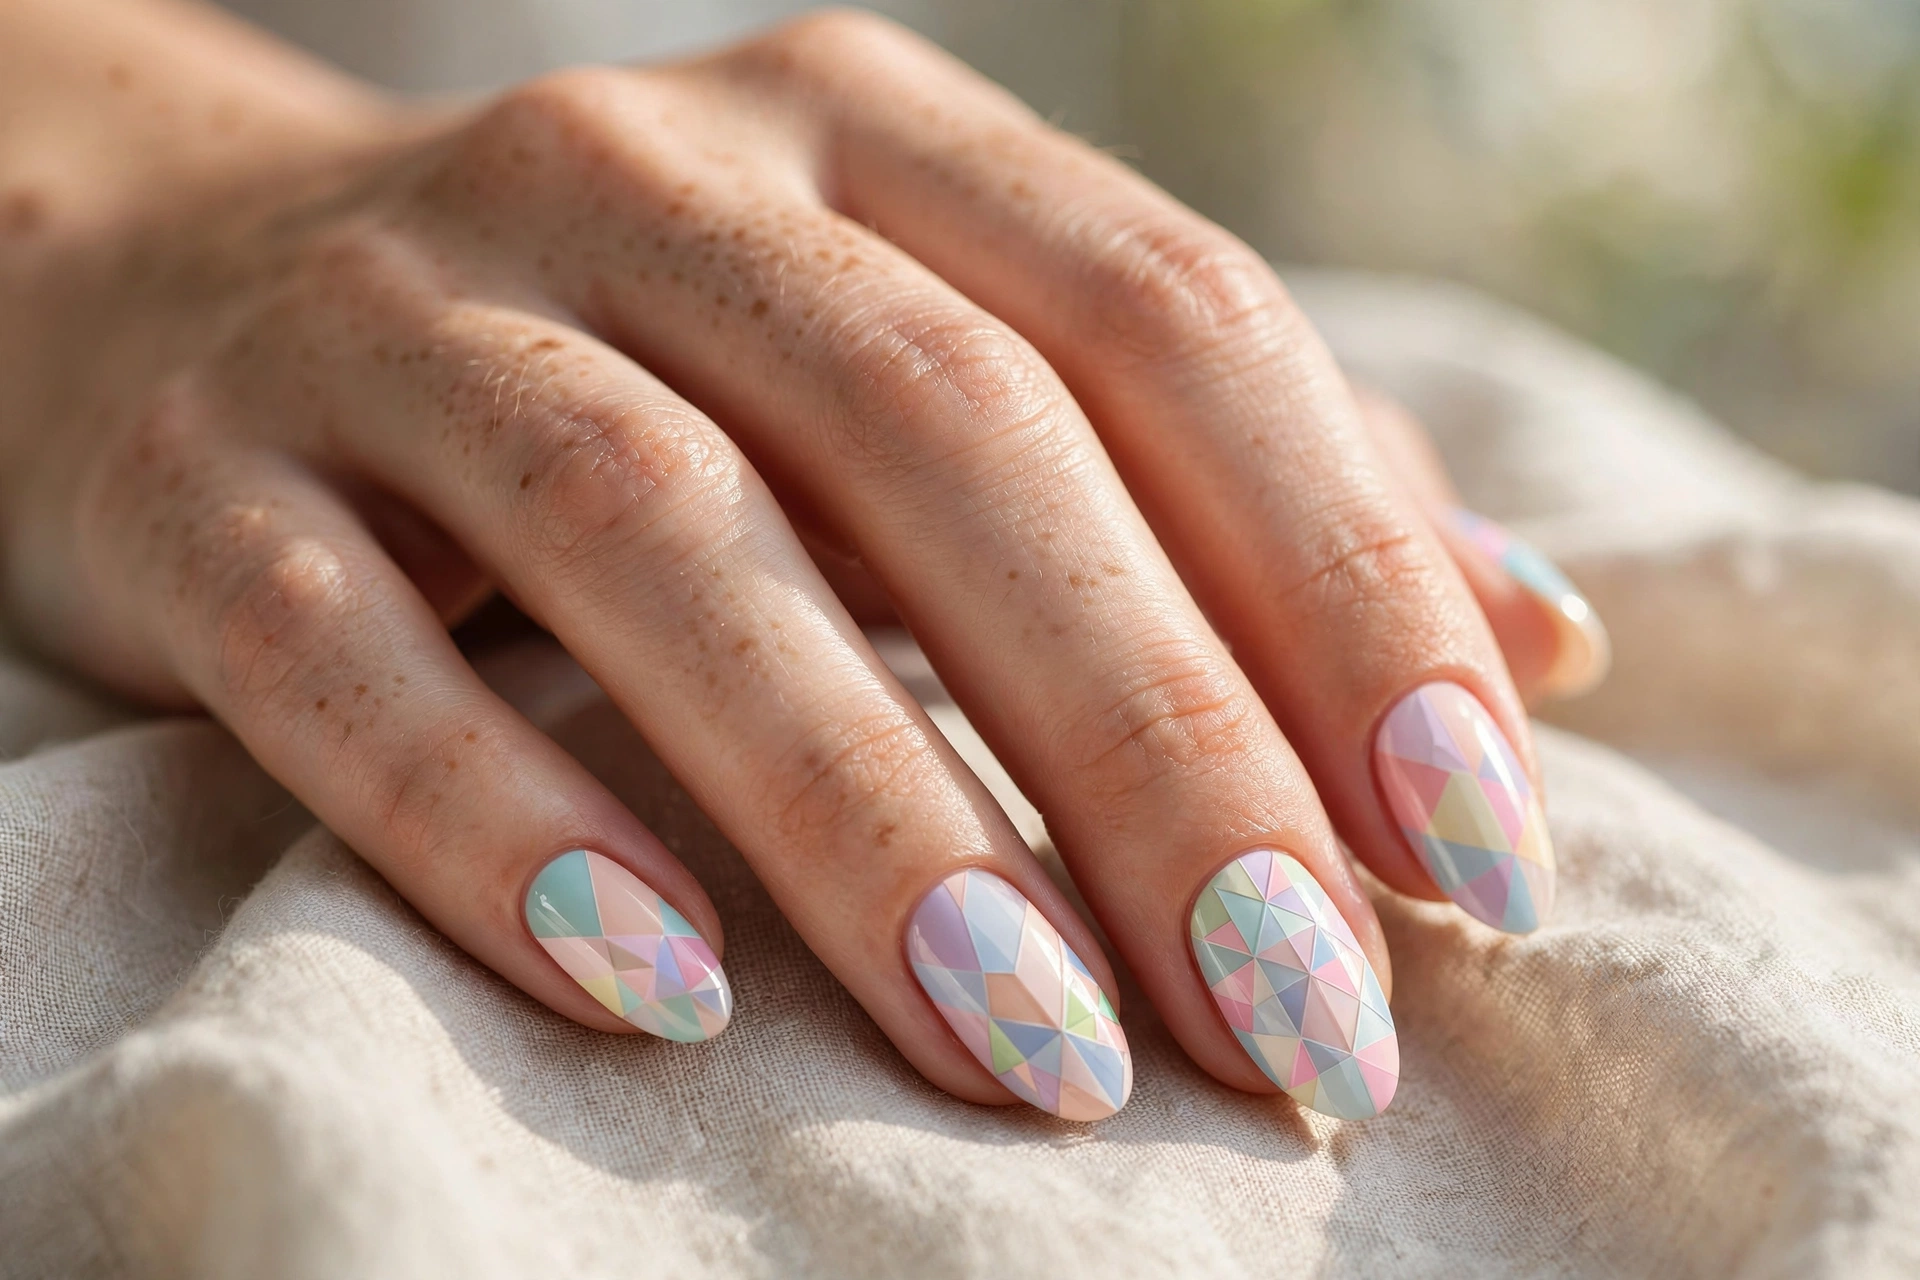
Soft pastels take the edge off graphic geometry, creating geometric nail art that feels sweet rather than severe. Lavender, mint, peach, and baby blue shapes against a white or sheer base make spring-ready designs that still carry modern attitude. The low contrast between pastels keeps the geometry gentle, perfect for those who love the trend but prefer softer aesthetics. Try pastel triangles, arches, and half-circles for a design that feels like a breath of fresh air. This design also looks stunning as an accent nail paired with a simple solid manicure.
Pastel polishes can be streaky, so apply two to three thin coats for full opacity and let each layer dry completely. White bases make pastels pop, while sheer nude bases create a dreamier effect. This design suits shorter nails and younger aesthetics beautifully. Seal with glossy top coat to keep the colors luminous. Pastel geometric nail art proves that graphic design and softness are not opposites, delivering modern patterns in the gentlest possible palette. Experiment with different color combinations to make this design completely your own.
Art Deco Glam

Art deco geometry brings Gatsby-era glamour to your fingertips with fan shapes, sunbursts, and stepped lines in black and gold. This is geometric nail art at its most luxurious, channeling the roaring twenties through precise, symmetrical patterns. Paint a deep base like black or midnight blue, then add gold fan or chevron details with a fine brush or stamping plate. The combination of dark polish and metallic gold reads as pure opulence. Finish with cuticle oil to keep the skin around your nails looking as polished as the design.
Symmetry is essential for authentic deco style, so use guides and take time with placement, mirroring each design carefully. Stamping plates with deco patterns make this look achievable without freehand mastery. This design shines at formal events, holiday parties, and anywhere vintage glamour is welcome. Seal thoroughly since metallic details can wear. Art deco geometric nail art is timeless rather than trendy, a manicure that would have looked stunning in 1925 and looks stunning now. Thin coats are always better than thick ones, giving you smoother color and faster drying.
Geometric Ombre
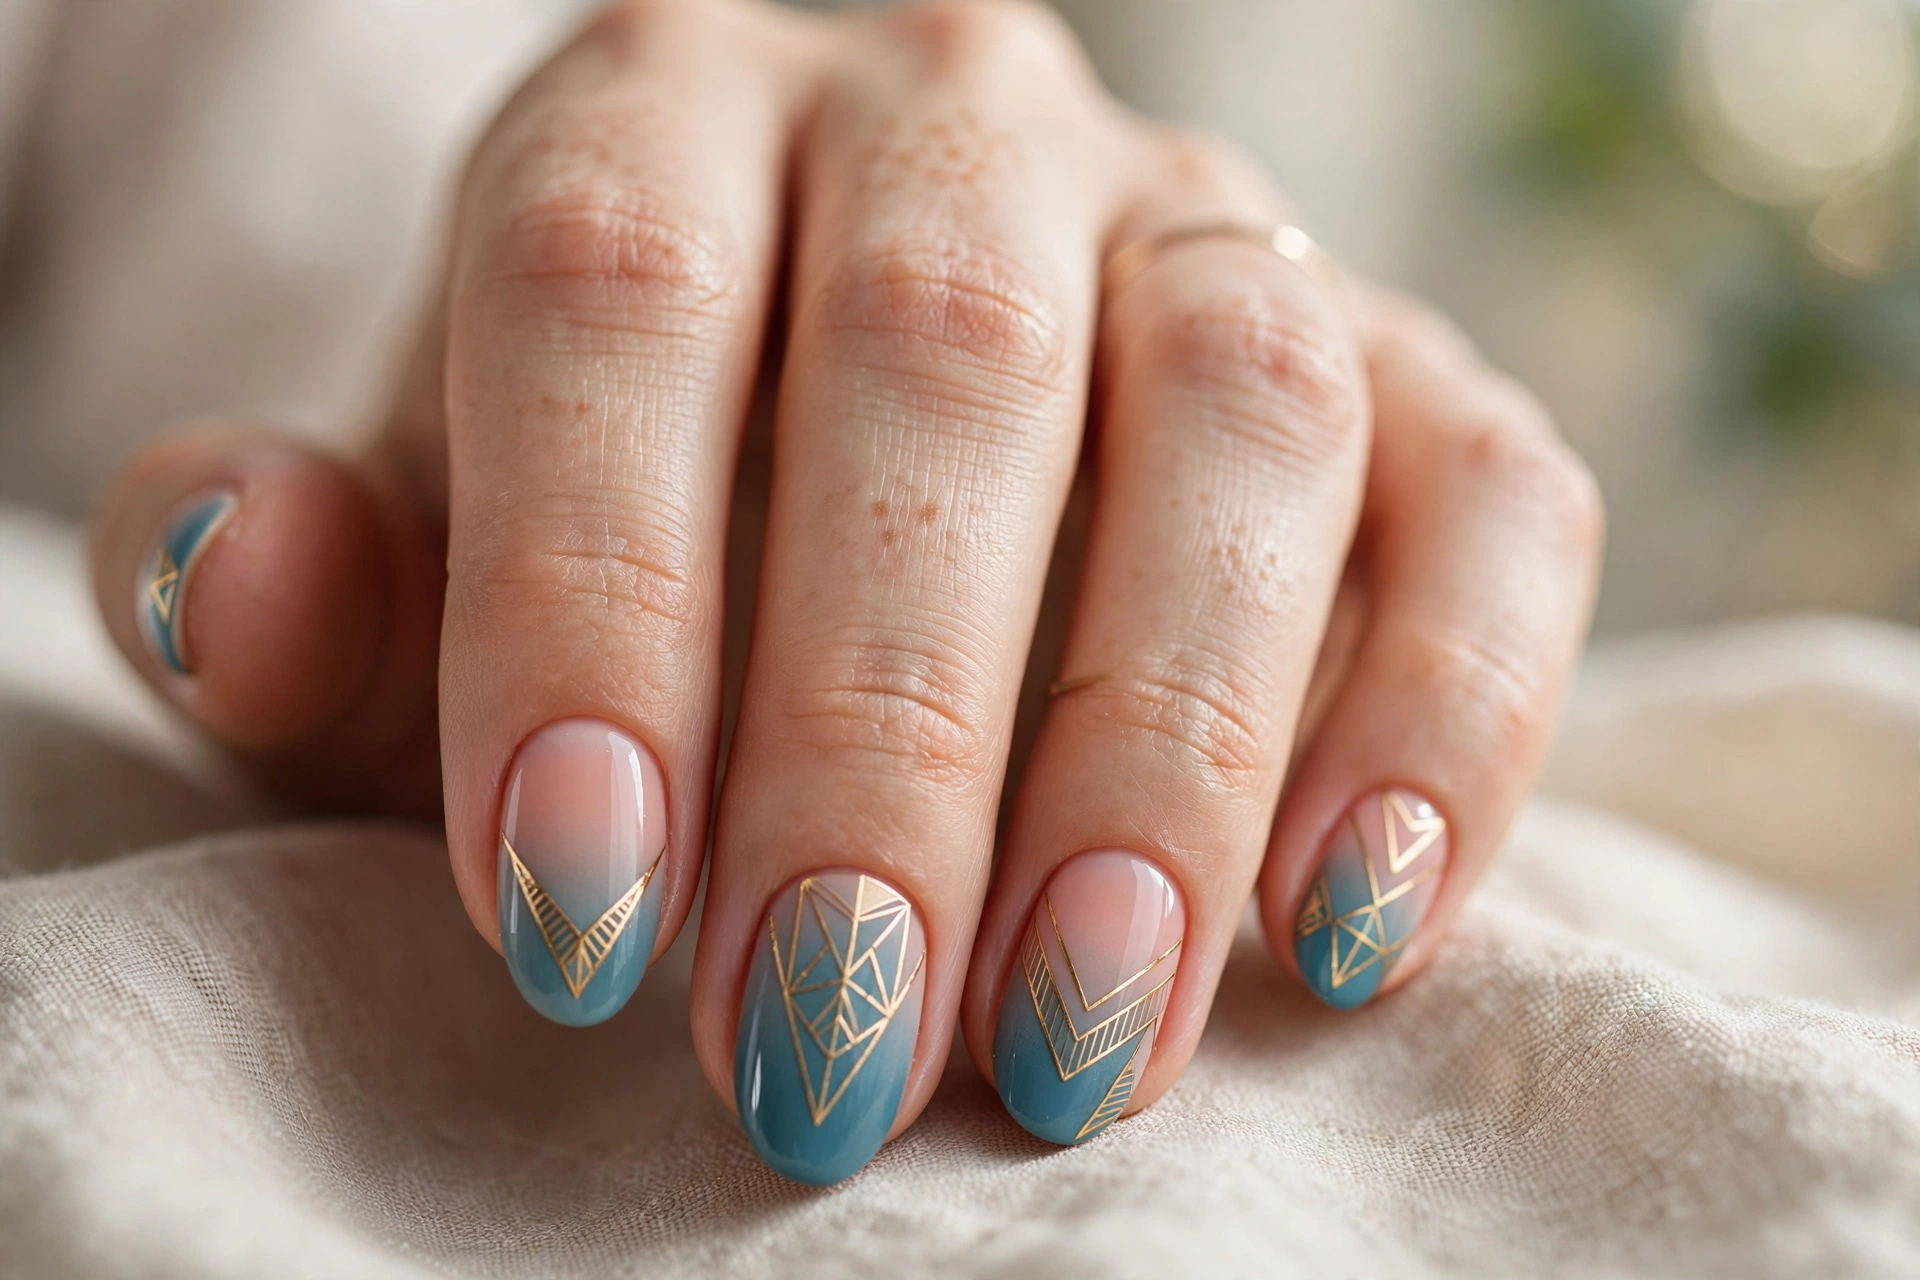
Combining two major trends, geometric ombre layers angular shapes over a smooth gradient base for dimensional geometric nail art with serious depth. Sponge a gradient from light to dark across each nail first, let it dry completely, then add geometric linework or shapes on top in a contrasting tone. The softness of the ombre beneath the crisp geometry creates beautiful tension. Try nude-to-brown ombre with black lines, or gray-to-black with silver details. If you make a mistake, a small cleanup brush dipped in acetone fixes edges in seconds.
The ombre base must be fully dry before adding geometry, or the lines will drag and blur. A latex barrier around the cuticles makes sponge-gradient cleanup much easier. This technique looks most impressive on medium to long nails where the gradient has room to develop. Glossy top coat melts the layers together seamlessly. Geometric ombre is advanced-feeling nail art that is genuinely achievable at home, combining two techniques into one showstopping manicure. Take your time with the details, because precision is what makes this design look professionally done.
3D Geo Studs

Metallic studs in geometric formations add genuine dimension to geometric nail art, turning flat designs into tactile, jewelry-like manicures. Arrange tiny pyramids, bars, and spheres into triangles, lines, and grids on each nail, securing them with nail glue or embedding in gel top coat. The 3D elements catch light from every angle and give your manicure a bold, edgy finish. This is statement nail art for those who want their hands to be the accessory. A steady hand and good lighting make all the difference when creating this look at home.
Placement planning prevents a cluttered look: sketch your arrangement mentally before gluing, keeping formations consistent across nails. Less is more with 3D elements, so one striking formation per nail beats random scattering. Seal around, not over, large studs to keep their shine. These manicures require gentle handling but reward you with unmatched drama. 3D studs take geometric nail art off the nail and into the realm of wearable sculpture. This is one of those designs that looks far more difficult than it actually is to create.
From whisper-thin minimalist lines to bold 3D stud formations, geometric nail art offers a graphic language for every personality and occasion. Master your striping brush, invest in good tape guides, and remember that crisp edges come from removing guides while polish is tacky. Start simple, build your skills, and soon you will be freehanding designs that look salon-created. For more pattern inspiration, explore our elegant almond nail designs and our bright summer nail designs for your next manicure appointment. With a little practice, you will be able to recreate this design in under thirty minutes.